
Modding DIY Tutorials
now browsing by category
Acrylic Strip Heater Tutorial
Acrylic Strip Heater Tutorial
The acrylic strip heater is useful in many ways. Not just for computer modification, but really to bend or shape any types of acrylic or plastic. This is a tool that has a heating element, centered in a channel, that when the acrylic is placed over the heating element, it begins to soften and allow syou to flex the acrylic into any shape you desire. This tool will be very useful to me when creating acrylic power supply shrouds, as well as any other acrylic work that I need to accomplish during computer modding.
I have a video embedded in the page for you that not only gives you an idea of what the acrylic strip heater looks like but also how to use the acrylic strip heater. I am sure that there are many of these available to purchase, but I will provide you with a link to the one that I am using in the video. If you would like to purchase your own, you can do so from here: Delvie’s Plastics I am not affiliated in any way with Delvie’s Plastics, it is just who I use when I need to purchase things, and they are great to work with.
Please either watch the video below, or click and you will be redirected to YouTube in which you can watch the video there. I actually give you a demonstration on using the acrylic strip heater in the video on different types of acrylics. All in all this strip heater is a great price, and really works as intended. I am super happy with adding this tool to my inventory, and will use this many times in the coming years for all of my acrylic bending needs.
In this video we show you how to bend acrylic using an acrylic strip heater.
[embedyt] http://www.youtube.com/watch?v=eDbICAP38tg[/embedyt]

Painting Steps to Achieve That Perfect Finish
Creativity drives us to be different. Or does it? Does our mind realize that we are being creative, or is this just normality, outside the norm of what people consider normal? Is creativity just inherent in some, but abnormal for others that cannot fathom these concepts? This could explain why some see things differently than others, and why some believe they could do what the creative types accomplish if given the “tools” they have. Here are some painting steps to help you achieve the perfect finish.
See creativity by definition is “the use of the imagination or original ideas, especially in the production of an artistic work.” (google.com) When we look at the modding world today, it is a creative accumulation of works by the modders. But how do they do this work? That is what brings us here today, and I want to discuss painting steps. It is very widespread as the easiest and most common thing to do, to alter, or modify the computer case that you own. You can paint parts of the case, or the entire thing. You can paint components, just portions or the entirety. This makes it something that is done very often, even by the novice modder.
Let’s take a look at the painting steps to achieve that perfect finish. These are painting steps that I use, and some of the products I use to help achieve that perfect finish.
Step 1. Sanding – The first thing we need to do is scuff the surface that we are going to paint. Now it is not necessary to sand down to bare metal, but just to remove the shine. For this I generally use 400 grit sandpaper, and for difficult areas of the case I use my sandblaster and a media equivalent to 400 grit sandpaper. Generally you end up with a surface as seen below:
Sanded Surface
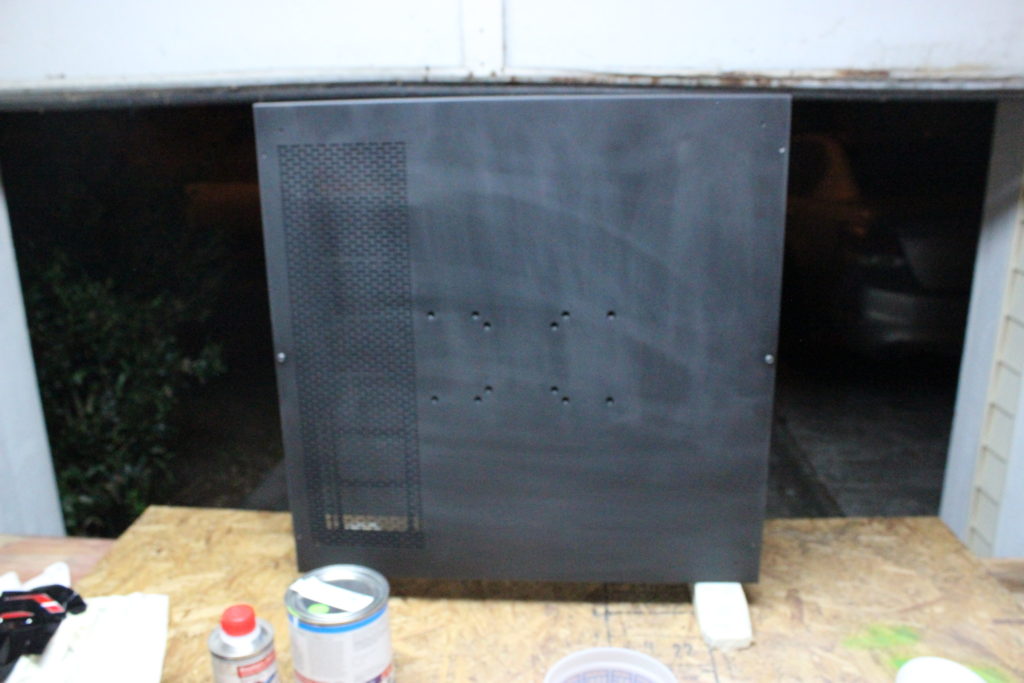
This was the first sanding stage, so do not fret if it looks uneven, basically we just need the surface scuffed to have good adherence for the paint.
Step 2. Cleaning – After you have your surface sanded, you must ensure that all the dirt is removed in order to achieve a quality paint job. I use dawn dish soap, a bucket of water, and a wash mit. The dawn soap also acts as a grease remover. So just as you would your car, I ensure to thoroughly wash the object in which we are painting, and rinse it thoroughly. I then let the piece air dry, and use my air compressor to blow off any residual water, especially from corners and over lapping areas that may hold the moisture in. (Please note, if you are painting your motherboard for example, please do not wash it, skip this step and proceed to the next.)
Step 3. Gloves – Before moving any further, grab a pair of your favorite dust free gloves, nylon, latex, nitrile etc… and put them on, from here forward we do not want to touch the surface to be painted, as the oils in your hands can affect paint adhesion.
Nitrile Gloves

Step 4. Surface Solvent Prep – After your surface is dry, and you are 100% sure there is not any water hiding in corners (paint won’t adhere to water) grab a lint free cloth, and grab some prep sol, or better known as Grease and Wax Remover.
Grease and Wax Remover

Wipe down the entire surface to be painted, and follow with a clean lint free rag to wipe off the excess.
Step 5. Mix Your Paint – Next we want to prepare our paint that is to be sprayed. Most auto grade paints can stay in their mixed state for a few hours before becoming unusable (please reference the information on your paint label). I always use a measuring cup for this, they are cheap, you can grab them at Wal-Mart for about 85 cents, and most the time I do not attempt to reuse them, I just properly dispose of them. Your paint will have the correct mixing ratio on the label, for mixing the paint with the hardener and reducer (if required).
Mixing Cup for Paint

After your paint is mixed into your measuring cup, grab your strainer and paint gun and move on to the next step.
Step 6. Tools to Paint – Grab your spray gun, your ventilator/respirator mask, pour your paint into your gun and put on your respirator.
Painting Mask

I have a cradle that my spray gun sits in, so that way I can have my paint in my gun, my gun connected to my compressor, with the appropriate air pressure set, put on my respirator, and be all ready to spray before the next step, which is the last step for the prep work.
Step 7. Tack Cloth – I already showed us the value of a tack cloth in this article entitled Tack Cloth. At this point I give the entire piece one final wipe down with the tack cloth, to help remove any final dust or dirt particles that may have settled when my back was turned, (pesky little pests).
Tack Cloth

Step 8. Lay Down Some Paint – Yes after all that prep work it is finally time to paint! Painting is 75% preparation, 25% painting. The details are what helps us to ensure a great finish on our project. The first coat of paint we lay down should be what is called the “Tack Coat”. This is a very light coat of paint, to just give a mist of paint over the surface, and is the last step to help adhesion of the paint to the surface. After the Tack Coat sets, you want to lay two “Wet Coats” of paint. After this let the paint setup according to the specifications of your paint.
Step 9. Clear Coat – After you have laid down sufficient coats of paint, and you are pleased with the outcome, we must wet sand the surface, and lay down the clear coat. Yes we start all over, but this time we don’t dry sand, we wet sand, to help ensure a smooth final surface. Lay down your clear coat as specified by your paint, and if you follow these painting steps your end results should look something like this!


Tack Cloth: A Necessary Tool for Dust Removal Before Painting
Anyone who is looking for an exceptional finish, is always concerned with cleanliness. This could be in relation to getting ready to go out on a first date, cleaning your windows, or pulling the weeds from your garden, yes even dirt can be cleaned of weeds. But why is an exceptional finish necessary? To all it isn’t, but to those of us who want the things we do, to reflect the person behind them, cleanliness is very important. So lets have a look at how the tack cloth can help our paint jobs.
Have you ever attempted to apply window tint? If not this is a lesson in futility that I believe everyone should experience at least once in their lifetime, at least anyone who is interested in modding. It doesn’t have to be on your car, just pick up some cheapo window film from your local automotive shop, and try it on a spare piece of glass, or an easy to access window in your home. What you will quickly learn, is that as much as you think you have removed all dust from the surface, once you apply the window film, you will see just the amount of dust that still remains.
How does this relate to modding? Well a large portion of modding, is painting your case to a certain color, to match the theme, or mod that you are working on. There are many important factors that come into play when it comes to modding, but a Tack Cloth, or Tack Rag, is one that I see talked about, but never really explained fully its true importance. I have noticed people say use a Tack Cloth to remove the final dust, THIS IS IMPORTANT, but never really speak of why this is so important. SO let’s start with some basics.
What is a Tack Cloth? A Tack Rag, or Tack Cloth is a specialized wiping cloth, treated with a tacky material, used to remove particles of dust, lint, or dirt. That dust, could contaminate the surface you are about to paint, and thus needs to be eliminated before applying any type of paint. Just because you are applying primer, and it won’t be the final finish, that dust, sometimes microscopic, needs to be removed.
Here we can see a Tack Cloth:
The description on the front label of the Tack Cloth reads:
I purchased this Tack Cloth from Harbor Freight, at the following link:
Tack Cloth
They can also be found on Amazon for about 3 dollars from 3M:
Tack Cloth
You can see how inexpensive this item is, but its importance to the final outcome of your paint job, is dramatic. Adding up the amount of money spent on sand paper, primer, paint, clear coat, if you do not take this step and spend the money on your Tack Cloth, the end result will show.
Hopefully this will help some of you eliminate some dust from your paint jobs, allowing you to eliminate a step in having to wet sand dust out of your final finished paint. Thanks for reading this article, and here at Precision Computing we look forward to bringing you more modding tips, to help you out with your future case mods.

Thermaltake Suppressor F51 RevoluTtion featured by Intel
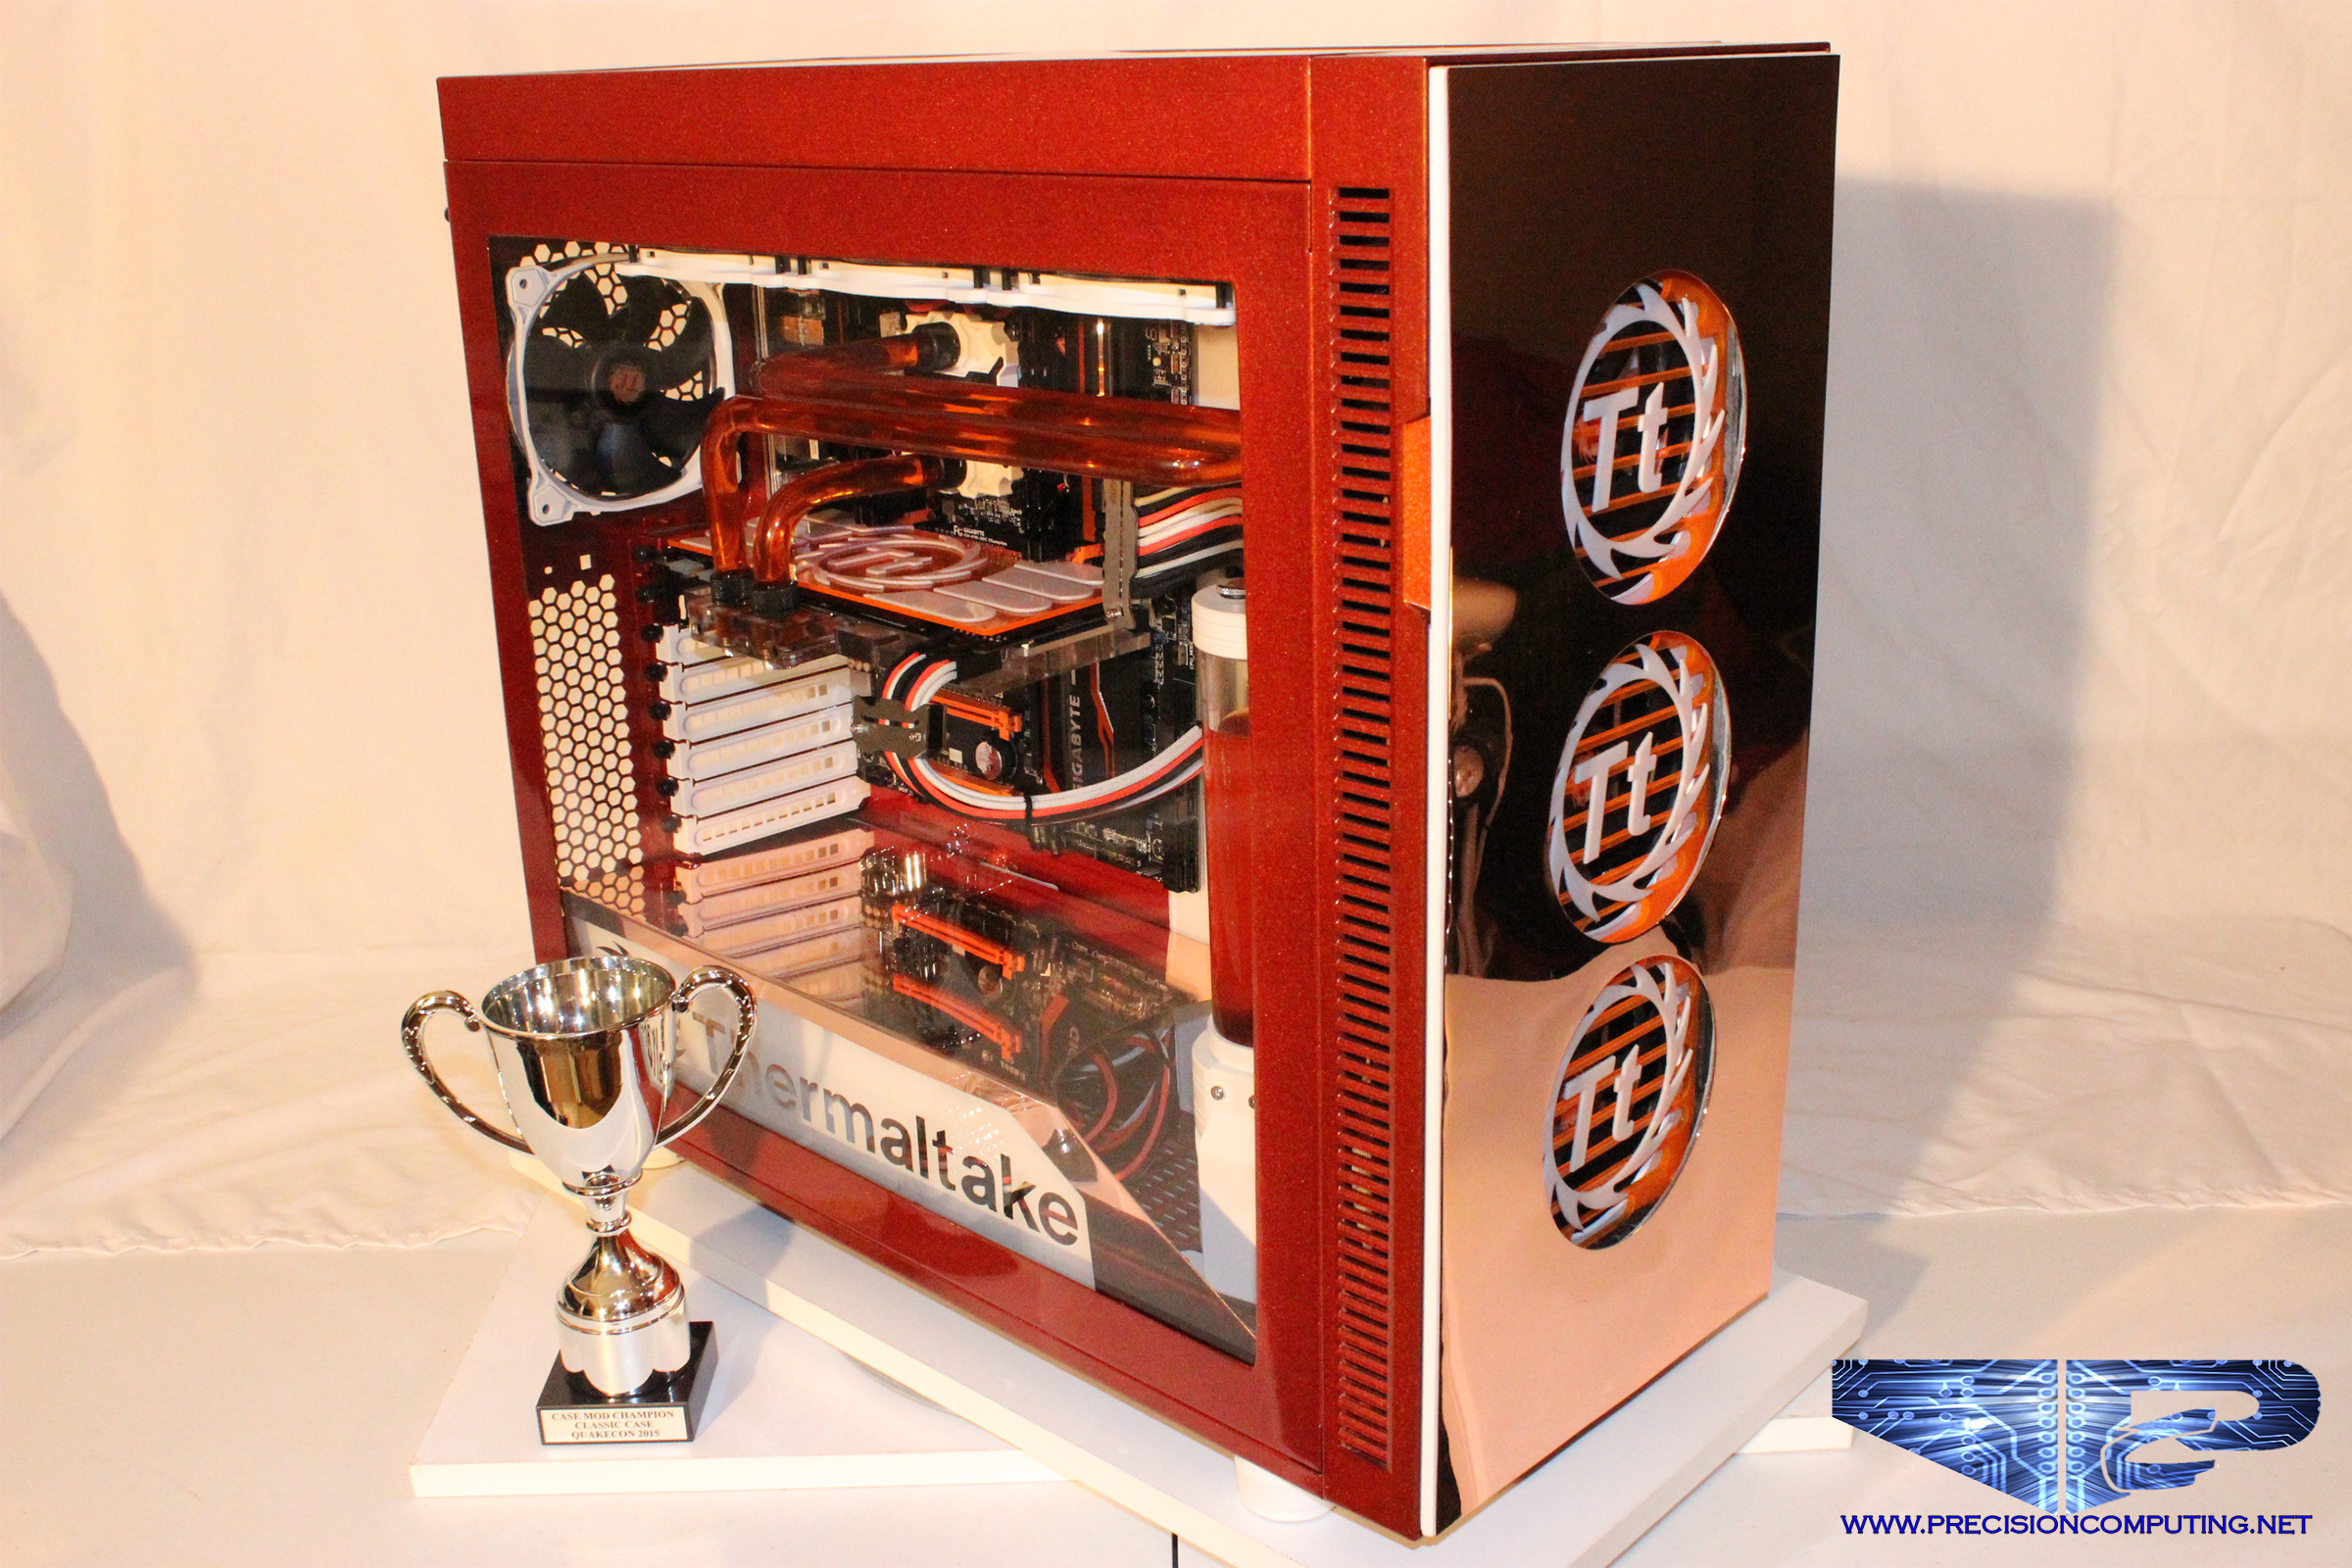
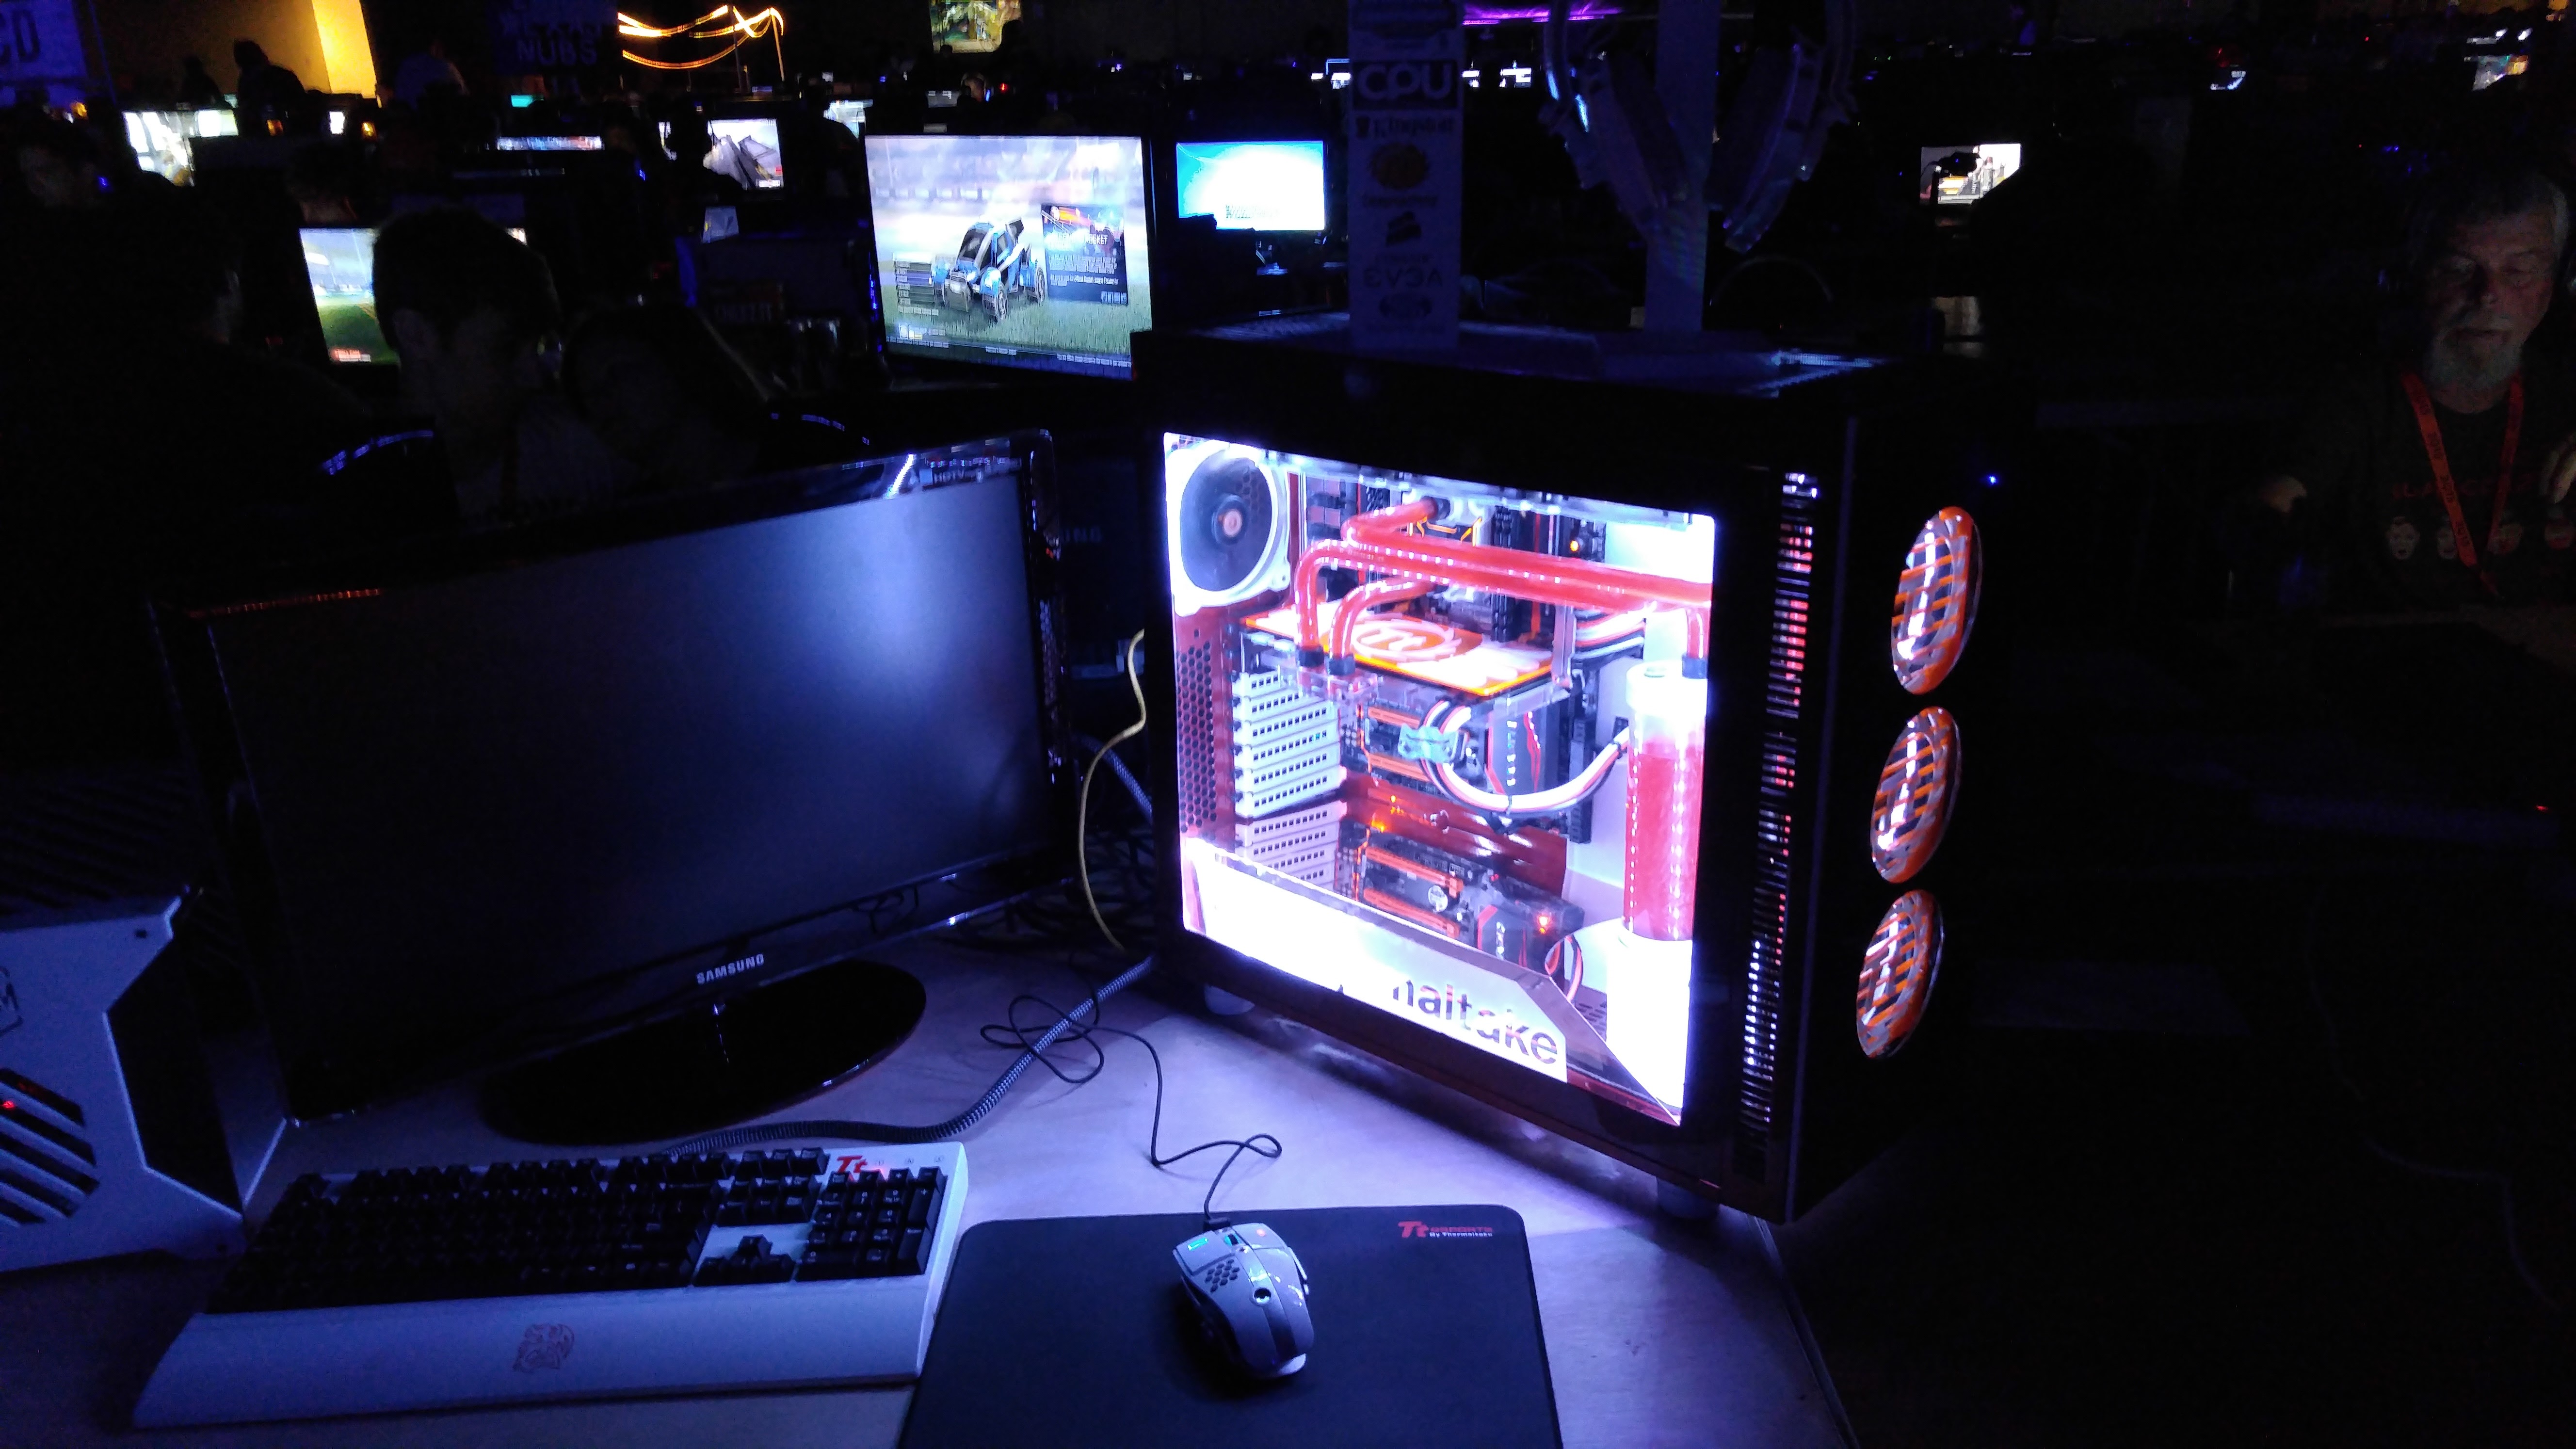
RevoluTtion
This year we set out to meet a few goals, and so far we have successfully accomplished those goals we have set. We have traveled within the United States to Dallas Texas to visit QuakeCon, and also to San Francisco to the Intel Developers Forum. We brought our custom modified computer “RevoluTtion” to enter into the US Case Modding Championship at QuakeCon and were honored to showcase “RevoluTtion” on stage at IDF for Intel’s Mega Gaming Session. While at QuakeCon we took first place with “RevoluTtion” in the US Case Modding Championship. During our visit to the Intel Developers Forum we were honored to display “RevoluTtion” on stage among some of the best case modders creations in the world. Please enjoy our gallery below, with some pictures from both events, as well as some final pictures of “RevoluTtion”, as well as the specifications of this modified computer.
Thermaltake 16MM PETG Rigid Tubing
Thermaltake Pacific W2 CPU Block
Thermaltake Pacific PR22-D5 Pump/Res Combo
HardWare Labs GTX 360 Radiator
Bitspower GTX970 water block
7 – Thermaltake Riing Fans
IMGUR album link: Click Me


 D5 Creation